DocRead Installation steps
Introduction
This document will walk you through the steps of installing DocRead in your Office 365 tenant. We strongly recommend doing this on a separate site created for testing purposes only. This will allow you to understand how DocRead works without impacting your existing content.
The installation itself is straightforward and should take about 15 minutes. If you have any questions or need any help preparing for the installation, please contact us at support@collaboris.com.
Before installing DocRead on your SharePoint environment, you must complete a series of prerequisites. You can find detailed information about these prerequisites here.
Installation prerequisites
The instructions in this document assume that the following prerequisites have been completed:
- Your Office 365 tenant administrator has read and agreed with the permissions that DocRead will request during installation.
- You have created a SharePoint site where you want to install DocRead (this may be an existing site or a new site created just to test DocRead).
- You have enabled the SharePoint App catalog on the site where you want to install DocRead. This will allow you to install DocRead in isolation from your other sites. You can find information on how to create a site collection app catalog here: Create a site collection app catalog.
- You have received the DocRead Welcome email with your unique registration link. This email is sent by the DocRead team when you purchase DocRead or request a trial.
The registration link on your DocRead welcome email expires after 5 days. If more than 5 days have passed, please request a new Welcome Email from the DocRead team at support@collaboris.com.
Installation steps
These installation steps should be completed by an Azure tenant administrator, who is also a SharePoint administrator.
The installation process is divided into three sections:
- Create a DocRead account - Takes you through the steps to create an account in DocRead for your Office 365 tenant.
- Assign administrators - Walks you through the steps of assigning administrators to your DocRead account.
- Install the DocRead app - Walks you through the steps to install DocRead in your SharePoint Online environment.
Create a DocRead account
-
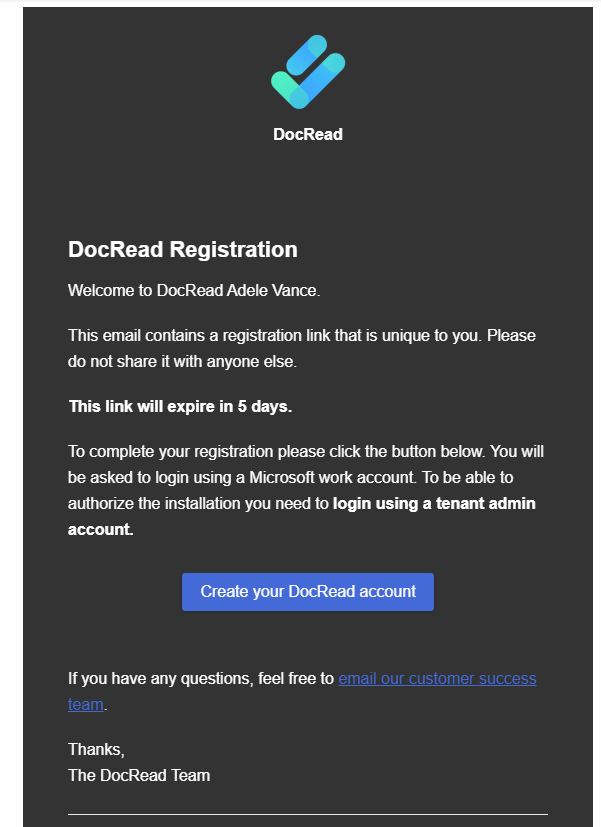
Open the welcome email sent by the DocRead team.
-
Follow the “Create your DocRead account” link, which will take you to the DocRead Cockpit app where the onboarding process will start.
-
You will be asked to login using your SharePoint account. Please make a note of the email used to login because we will need to use it later.
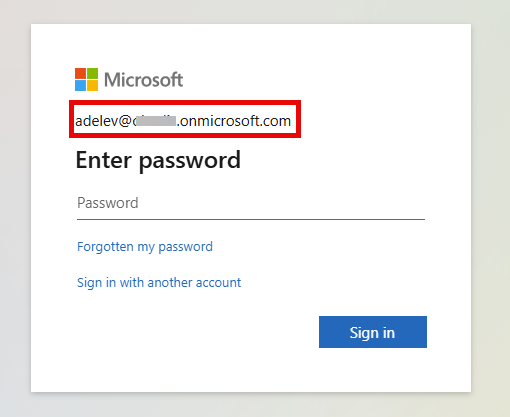
Please make a note of the email used to login. This user will become the first DocRead System administrator.
-
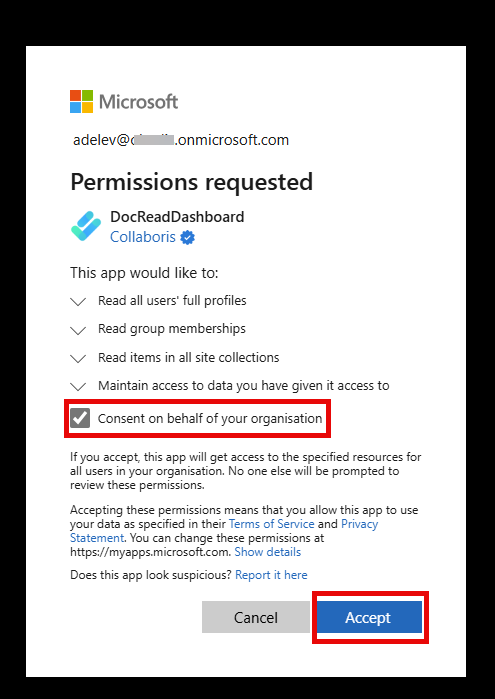
You will also be asked to approve some basic read permissions that will allow the DocRead cockpit app to work.
-
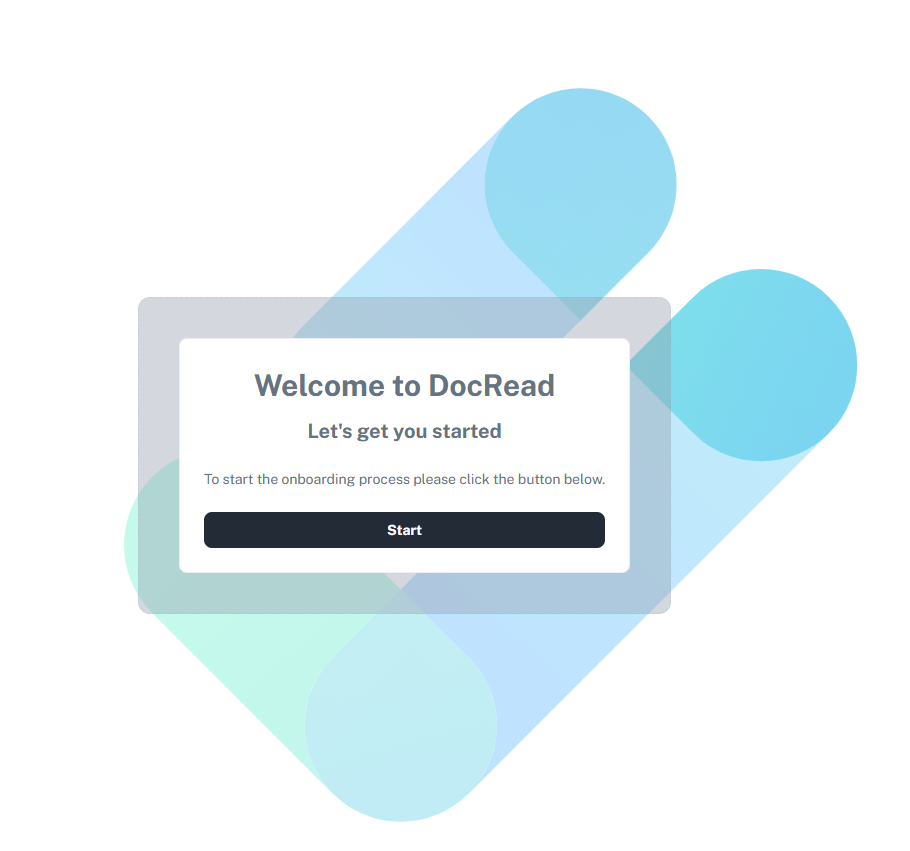
Once the the authentication and authorization process finishes the onboarding process starts.
-
Click the “Start” button and you will be taken to the first step on the DocRead onboarding flow.
-
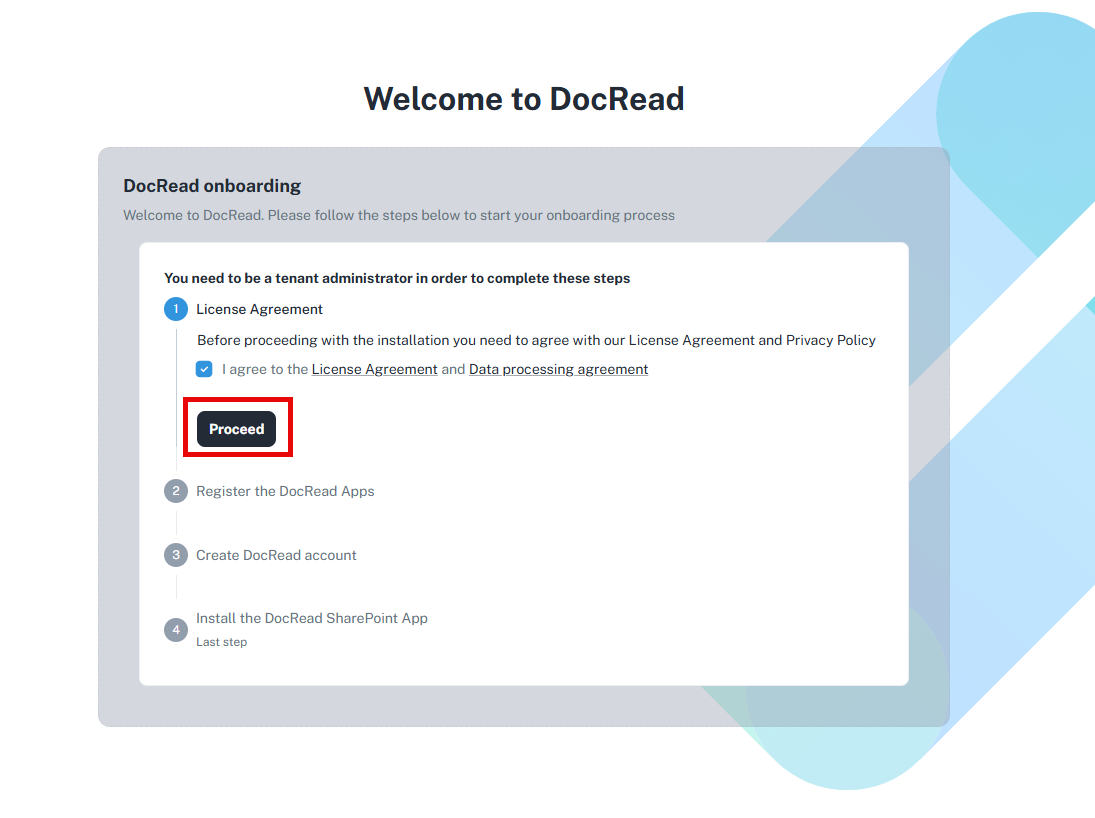
Ensure you read and agree with the “License Agreement” and “Data Processing Agreement” and click “Proceed”.
-
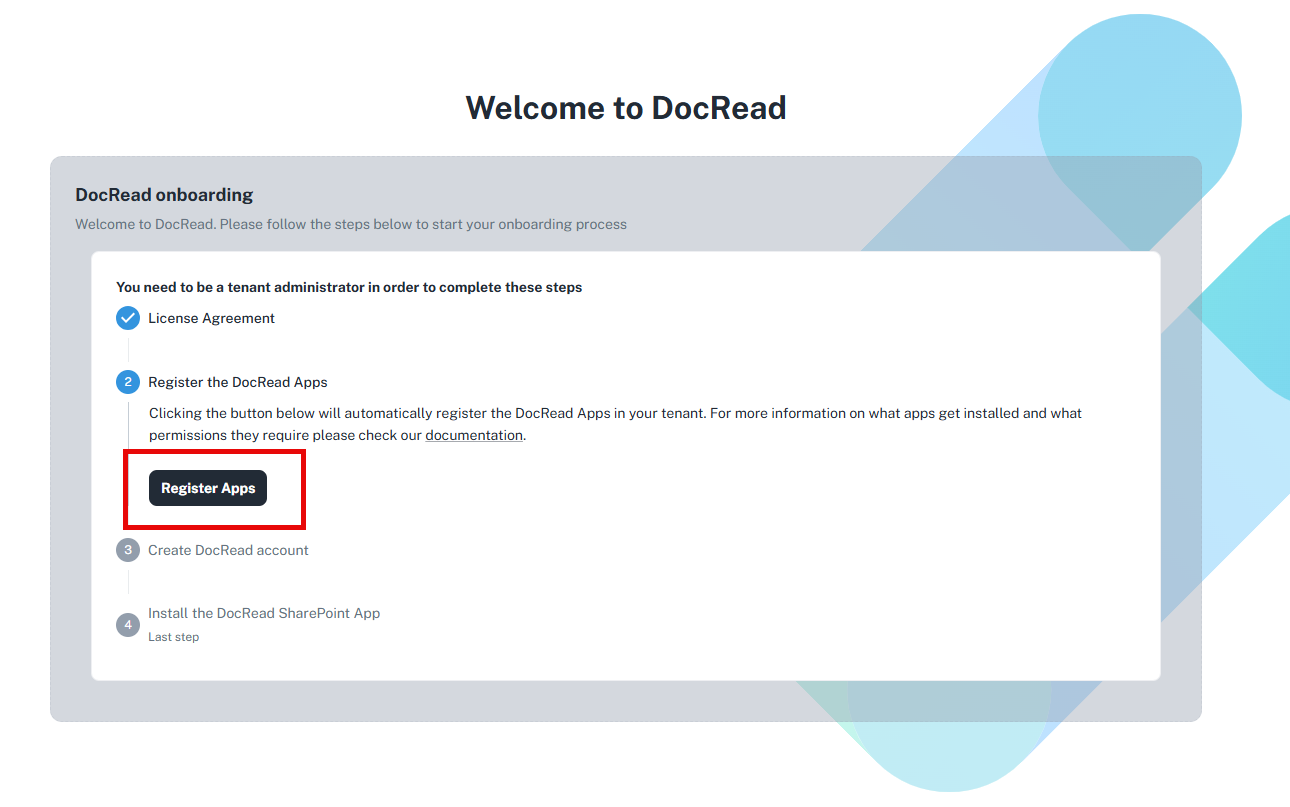
You will be taken to the “Register the DocRead Apps” step in the onboarding flow. This step will register the DocRead apps in your Azure tenancy and requires authorisation from your “Tenant Administrator”.
-
Click on “Register Apps.” You will be prompted to log in with an account that has tenant administrator rights. If you have these rights, you can use the same account from step 3 to log in. Once logged in, the tenant administrator will need to authorize the requested permissions by clicking “Accept.”
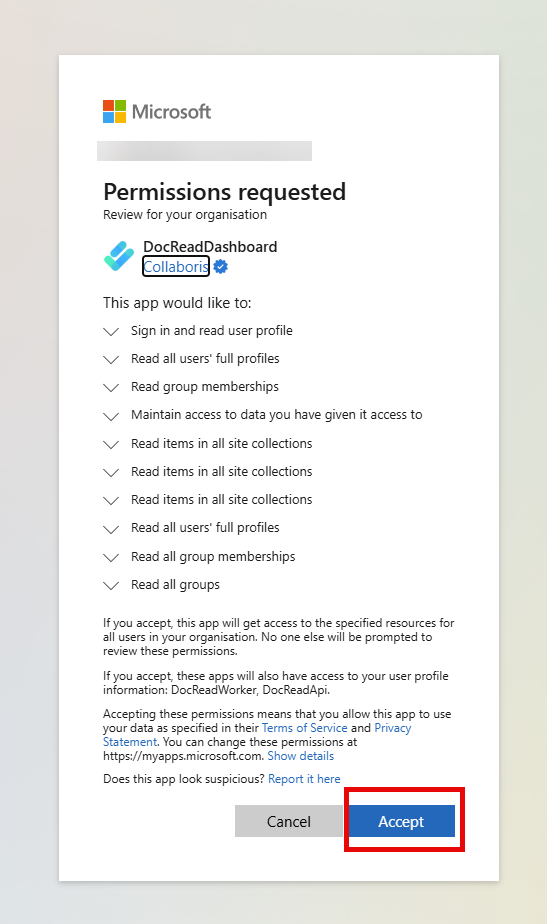
This step may take a few seconds to finish after clicking “Accept.”
-
After clicking accept, you will be directed to the following step of the onboarding process. Click “Create Account” to set up a new DocRead account for your tenant.

This step may take a few seconds to complete
-
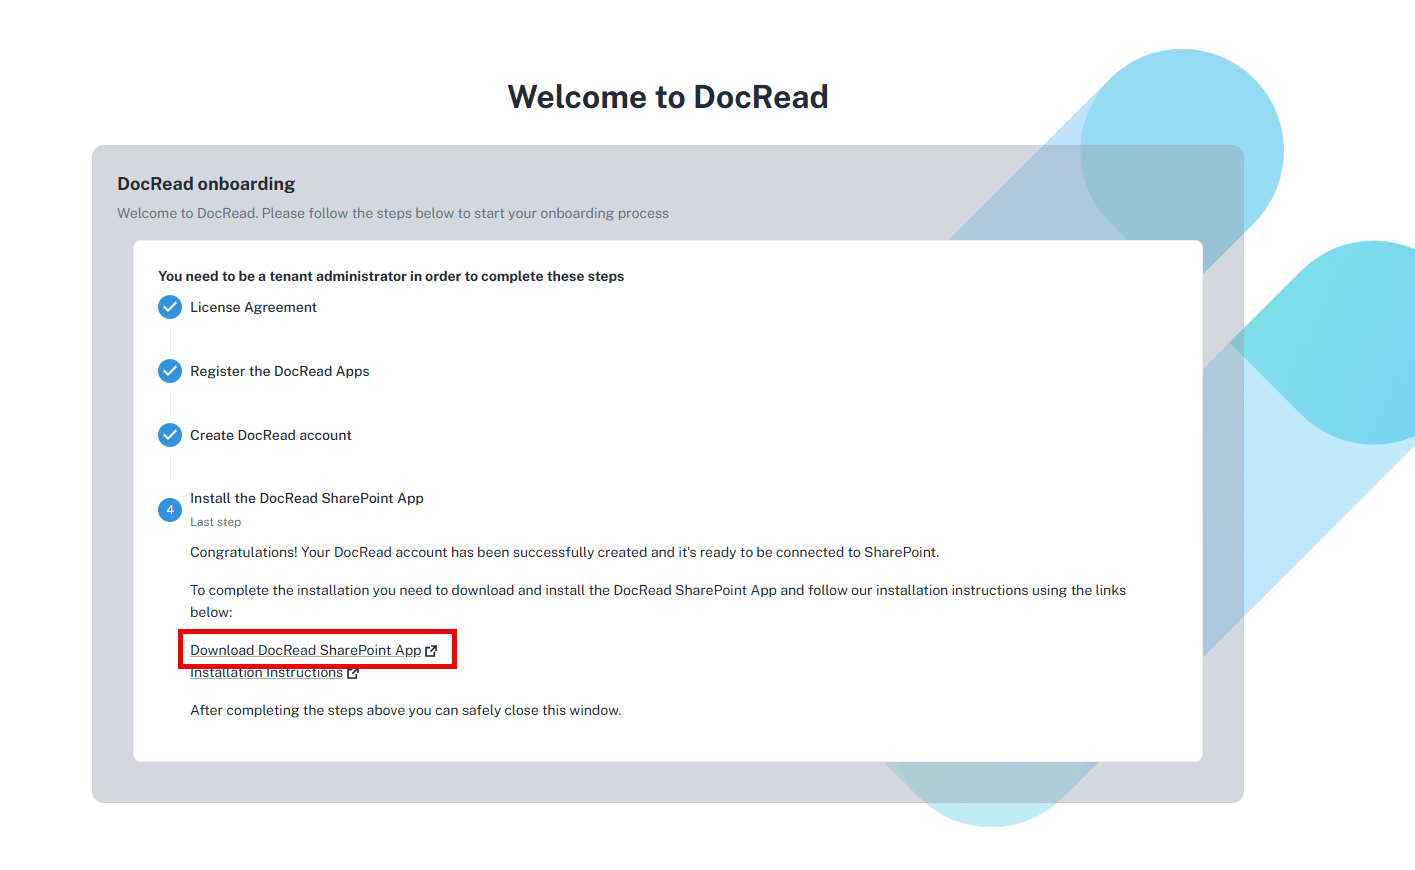
When the account creation process finishes you are taken to the last step of the onboarding flow.
-
Click the “Download DocRead SharePoint App” to download the SharePoint app that will be used in the next section of this guide.
You have now created a DocRead account for your tenant. The next section will take you through the steps of installing the DocRead App in your SharePoint environment.
Assign DocRead administrators
This section will take you through the steps of assigning administrators to your DocRead account. There are two types of administrators:
- DocRead System Administrators that have the following permissions
- Create other administrators
- View system activity log
- View & edit account details
- Manage Global Audiences
- Do everything a “DocRead Administrator” can do (see below)
- DocRead Administrators that have the following permissions
- Activate DocRead on a SharePoint library
- Manage library settings
- Create library owners
- Have full access to the DocRead Cockpit
The first system administrator for DocRead will be the user that started the onboard process (step 3 of the “Create DocRead Account” section above). They will initially be the only person with access to the cockpit.
-
Login to the “DocRead Cockpit” by opening a new browser window and navigating to
https://cockpit.docread.app. If asked to log in, please ensure that you log in with the same user as step 3 of the “Create DocRead Account” section above. -
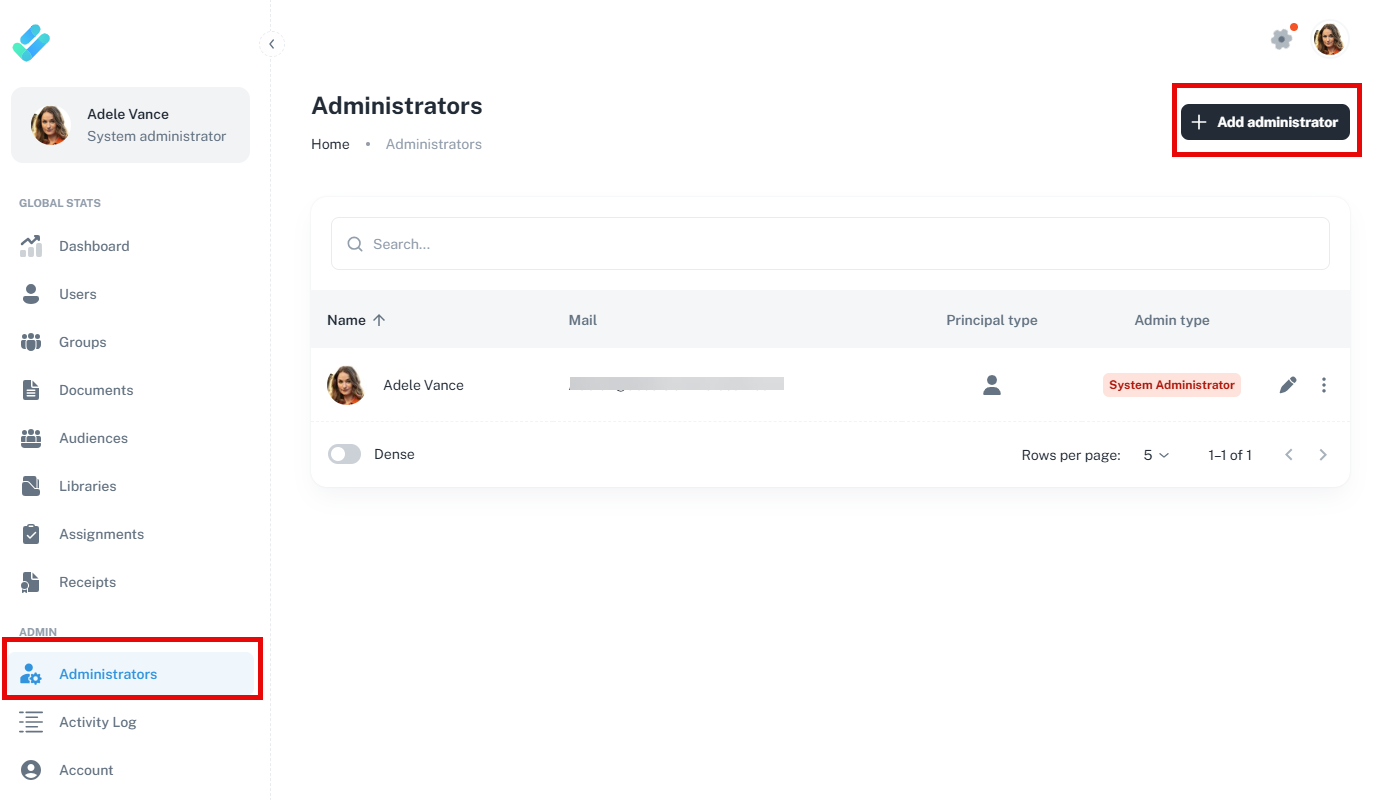
Go to the Administrators section and click “Add administrator” for each administrator you want to add.
-
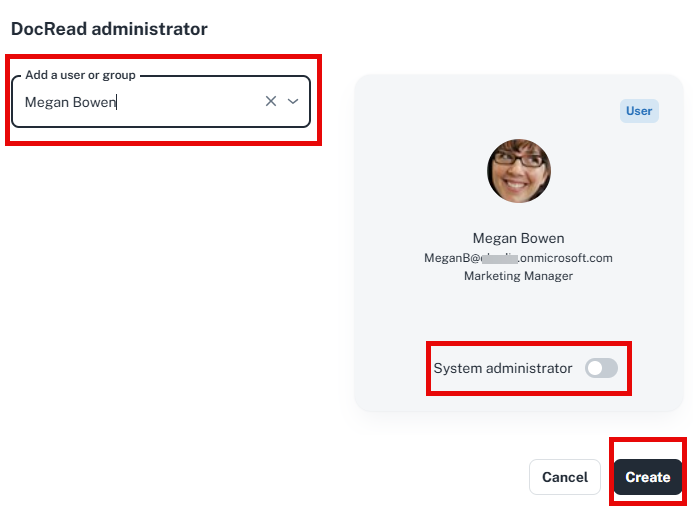
Enter the user’s name in the search box. If you want to designate them as a System Administrator, select that option; if not, leave it unselected and click “Create.”
Install the DocRead SharePoint App
To install the DocRead SharePoint please follow our guide